Clark’s Office of Environmental Health and Safety works with the physical sciences (chemistry, biochemistry, biology, and physics) and other University departments to obtain a safe working environment for students, faculty, and administrative staff by conducting ongoing safety and environmental training, providing environmental and safety resource materials, and providing safety and environmental equipment for all laboratory and hazardous work applications.
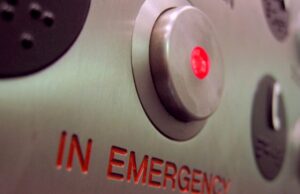
Emergency Response
Anyone might encounter an emergency in the course of their normal duties, so it’s important to be prepared.
Learn More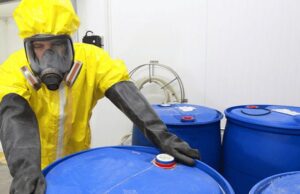
Hazardous Waste
Each laboratory is responsible for complying with hazardous waste regulations and for following University procedures regarding chemical purchase, inventory, storage, handling, waste collection, segregation, and labeling.
Learn More
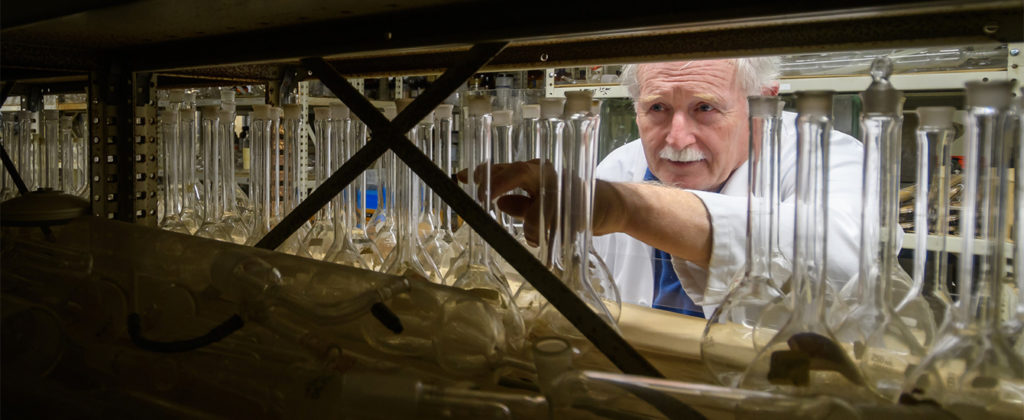
Science Laboratory Safety
From training and testing to the use of personal protective equipment, there are a number of ways to prevent injuries and illnesses caused by exposure to hazardous substances or conditions.
Learn More
Visual and Performing Arts Safety
The following information is provided to all Visual and Performing Arts faculty, administrative staff, and students to ensure a safe working environment.
Learn MoreEmergency Contacts:
Chemical Safety Officer
1-508-793-7280
University Police
1-508-793-7575
Materials Labeling and Signage
Review RequirementsThe information contained on this site is accurate to the best of our knowledge. We make no guarantees that it is error free. Use the information at your own risk.
Our pages link to external Web sites. Clark University is not responsible for the content of those sites. Links do not indicate endorsement, sponsorship, recommendation, or approval by Clark University.
If you find information presented anywhere on our website that you believe to be in error, please contact the Chemical Safety Officer, Jennifer Bosselman 1-508-793-7280 so she can make appropriate changes. Please include the URL of the page containing the error in any correspondence.
The material contained on this web site may not be used for the purpose of resale or profit, but we make it freely available for public use. If you use our information verbatim, we ask that you provide a note of credit to this site.
Environmental Health and Safety
Arthur M. Sackler Sciences Center
Room S108
Worcester, MA 01610
1-508-793-7280
1-508-793-7117
Chemical Safety Officer: sgelinas@clarku.edu